Showing posts with label scribble. Show all posts

Tuesday, January 24, 2023

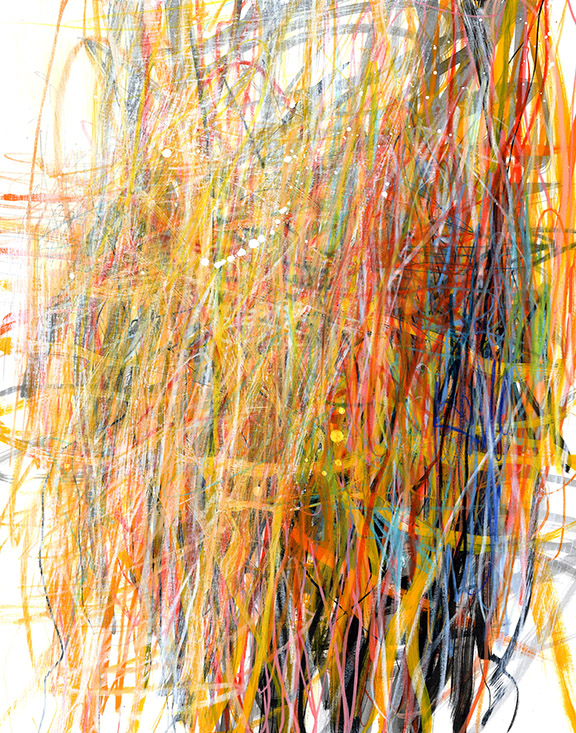
Scribble Paintings

 I've been scribbling a lot lately, layering marks in various materials. You can see previous posts about this work here and here.  Like many techniques, scribbling is easy. Making an interesting image with it takes some effort, careful judgement, lots of micro-decisions, and practice. Her is a video showing one way that a particular scribble painting developed. Processes vary quite a lot between individual works, but there is some consistency among those that I do in one "sitting". A sitting doesn't mean all at once, start to finish, but that I work on the group continually until they are done. I don't leave them for weeks while I work on something else. So there is a continuity of thought process.

Here are some of the pieces in this series. They are all 11"x14" on Bristol.


 Thank you for visiting my blog! Please do comment. I check every day and post them, the ones that are real comments and not spam. THANK YOU.

Sunday, January 19, 2014

A Few Finished Pieces

Here are a few that came out of the Deli Paper Print series.  I have, at this point, about sixteen in the works, some of which will come to conclusion.


 The following are still works in process.


I am really excited about the layering, making marks, scraping back, painting over, creating texture.  I am not limiting these pieces to a specific set of techniques.  They did all happen to start with the deli paper prints, but could just as easily start somewhere else.  I'm really enjoying seeing how space develops: flat space and layers of depth.  These shapes keep emerging, so I'm going with it.  Shapes, scribbles, grids... 

Thursday, January 16, 2014

Deli Paper Prints

Well, the finished pieces are layered and layered and layered, so they are more paintings than prints.  The deli paper prints are the beginnings.  THANKS to those of you who have sent, are sending, and have offered to send deli paper!!

Here is a short video on how I use deli paper to print, or transfer, paint.


First stage.  This is as far as I got in the video.
Then I scribbled all over it and applied more paint.

This version is almost done.

And here, I think it is done.  Not certain, but we'll let it sit a day and see.

This is the second piece that is finished, I think, out of the twelve in process.
 The rest of the pieces are in process, but some are almost finished, I think.  Sometimes the last 5% takes the longest, so I won't speak too soon.  They are all 12"x12" on printmaking paper.


Materials used in the video include:
Blick Matte Acrylics
Golden Open Gel
Deli Paper
See My Favorite Materials for papers and other paints.

We use this and other deli paper techniques in Layering with Transparencies workshop, which I'm offering this spring in Kansas City and Portland, Oregon.  Also in Big Fat Art: Big Fat Art Weekend in Vermont (March) is full, but I'm offering a four-day Big Fat Art workshop at Pacific Northwest Art School in September, and a one-day Big Fat Art workshop in Virginia Beach in October.

Saturday, May 26, 2012

Scribble Painting Progress

I wanted to post the progress on the Visual Journal, as I have new video and images to share with you, but my video camera and my computer are not getting along.  While they work out their dispute, I'll show you what I'm doing with the Scribble Paintings.

I decided to do about a dozen 10"x10" scribble paintings limiting the palette to this purple-gold-black-gray-light yellow thing, with accents of bright orange.  I also decided to keep using the same circle and doughnut motifs.  Here are a few that came out of that group:


Here is my wall with some of the scribble paintings.
I did not know where this would take me: either I'd get really good at using this limited set of elements and limited palette, or I'd get sick to death of it, or get stale or predictable.  What happened was the latter.  I got stale, the pieces started looking boring, contrived, self-conscious.  The ones above, to me, were on a roll, the the subsequent pieces are the ones that fell apart.  So I took the opportunity to throw a monkey wrench into them, introduce new colors and elements, "wreck" them into submission.  Here are two that came out of this group:

I covered over lots of this one, added the green/turquoise stamp, some collage, more lines...  It may be still in progress.
This one underwent a few transitional phases; lots of the original is covered up, but I think it finally came together. 
I enjoyed this little experiment of getting myself deliberately into a rut, and then getting out of it. 
 
More on the journal soon.

Friday, April 15, 2011

Playing with Value

In today's Drawing Practice exercise we are going to see how we can get a range of values (light to dark) in a few different materials. Leave color out of it for now, and just see if you can create very light areas, very dark ones, and a range in between.

For now we are just experimenting with different materials; next week (yes, I know I said I would do six Drawing Practice posts, but I'm doing one more) we will use these values to make drawings.

Choose a drawing implement, such as pencil, and start scribbling. Make as many kinds of marks as you can by varying the speed, the pressure, and so forth. Then try to create a range of values from dark to light.

In this one I used pencil, cross-hatching to varying degrees creates the value range.


Same thing in black fine tip felt pen. Here I tried to create different qualities of value by making some areas with more or less straight lines intersecting, and others with loopy scribbles.

I found the black crayon (crayola) the least interesting of my materials. I was surprised, though, that I could actually get a very dark black.


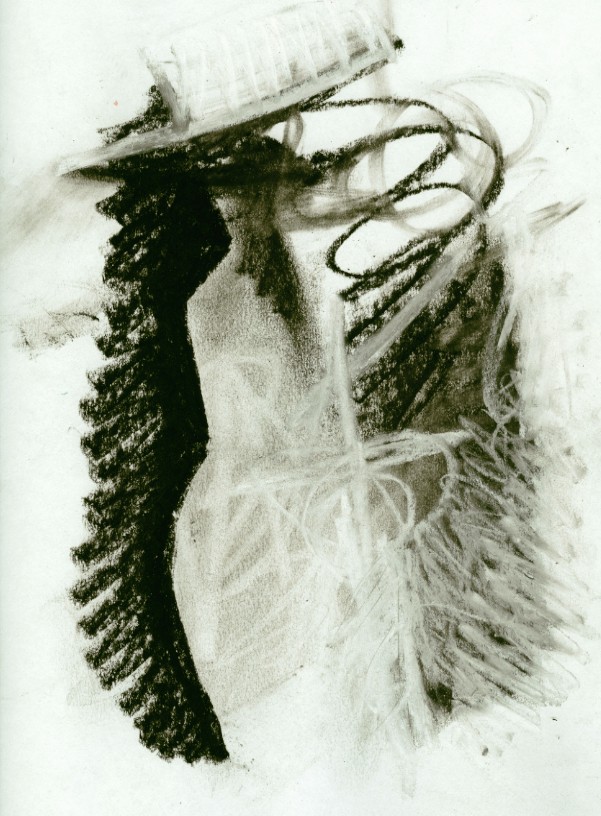
In this final one I used charcoal as well as white pastel. I used a kneaded eraser to smudge and make lines through the charcoal areas. Charcoal and pastel are so dusty, I really don't enjoy working with them. But they do offer such cool possibilities.

Hope you enjoy playing with values this week. We'll see what we can do with them next week. Thanks for visiting!

Tuesday, March 15, 2011

More Blind Scribble

Thanks for all your comments of my blind scribble drawing practice that I posted on Friday. I thought I'd share a few painting-collage-drawings that I did based on this practice. I began each in this series with a newspaper collage background, just to add some text and texture.

In this one, I followed the newspaper collage with a blind scribble in black oil pastel, then another one in a terracotta oil pastel. I painted with acrylics, being guided by the structure imposed by the collage and the scribbles. I stamped the Q's, and then went over the scribbles to give them more visual weight.


In this one I painted acrylics over the newspaper collage, and then did the blind scribble with a water-soluble graphite pencil. Next came the white crayon scribble, not blind, and watercolor in sepia and pthalo blue. I emphasized the pencil scribble with black oil pastel, then added the red in acrylic. I love that red!


Here is a page in my sketchbook in which I did two half-blind drawings of crows in water-soluble graphite pencil. By "half-blind" I mean I was looking at a picture of a crow, not at my paper, and then towards the end of the drawing I did look at my paper so that I could make a closed shape. Sort of like cheating just at the end. But this process does result in really interesting shapes!


To use these crows in a collage-painting, I first traced them both onto white Art Tissue paper (not wrapping tissue, which has a shiny side) in fine point Micron pen. Then I cut them out, roughly, and applied them to this collage-painting, PEN SIDE DOWN, using acrylic matte medium. This is an adaptation of a technique I learned from Jane LaFazio. The tissue paper practically disappears so that you are left with the drawing layered onto the collage.


Trying to incorporate drawing into my collage-paintings is an ongoing process, and doing these series of studies in my sketchbook or on small sheets of paper is immensely helpful. Thanks for visiting!

PS: I decided to change my picture in my Profile. This one is more realistic, and more recent.

Saturday, November 27, 2010

color studies


Happy Post-Thanksgiving Weekend! This coming year I will be offering a new workshop on Art Basics. Color, composition, and materials will be the main focus, and it is intended for students who are new to art-making, those who have been away from art for a long time and would like a refresher on basics, or anyone who wants to gain a little more confidence in the use of color and composition. The working title is "Creative Beginnings: Unlocking the Secrets of Color", but I may think of something more concise once I start teaching it. So.... I am having a WAY fun time developing exercises that demonstrate the power of color and how it can be used effectively in composition. For each of the collage-paintings above, I focused on one primary color, but incorporated bits of collage and patterned paper for interest. These basically monochrome paintings offer the opportunity to explore the nuances of a single color, and see how much variation you can get out of it. I've incorporated many of the techniques I teach in Scribble Collage in these pieces, as I will in the workshop. Stay tuned for 2011 workshop dates!

Tuesday, October 26, 2010

New Collage Paintings, again


A couple of new pieces I developed from workshop samples. I'm not sure if either of them is finished, but they are both finished for now. I'm teaching Scribble Collage as a two evening workshop tomorrow and Thursday in Manchester, VT, through Green Mountain Academy. Then next week I'm off to The Queen's Ink in Maryland for my five workshops in four days stint. Meanwhile, I'm focusing on making collage paintings and still experimenting with encaustics. All good fun and hard work!

Monday, October 18, 2010

Studio Place Arts Workshop


Here are a few pix from the Scribble Collage workshop I did at Studio Place Arts in Barre, VT last Friday. The top photo is a collage I did: I challenged myself to make a collage with ONLY scribble painted papers, no layers and layers of paint, as is my usual m.o. I found myself paying a lot more attention to composition, but it didn't seem to cramp my intuitive style. Five fabulous and creative women came to the workshop, and we spent the whole rainy day happily making gorgeous papers and then using them in collage. All of the participants claimed to be beginners at art, but they showed sophisticated visual sense, and picked up on the techniques quickly. I love teaching this workshop! The next one I'm teaching at Studio Place Arts will be on January 28. I'm offering an Art Basics workshop focusing on color, composition, and materials, and using paint and collage as the medium. More about that as I develop the projects and themes. Thanks for visiting my blog! And thanks to those of you who have taken my workshops!

Thursday, August 19, 2010

Rupert Workshop


I am having SUCH a great time with the students in my Collage Journeys workshop this week. What a creative bunch! ON Monday we did Scribble Painting, Tuesday we we explored personal text and image relationships as well as composition; on Wednesday we made collages with foam core; and today everyone continued work on their chosen project. Gretchen collaged in a journal she had begun, as did Deborah. Marianne continued with the foam core constructions, while the rest worked on collage / paint compositions. Tomorrow we wrap up with some show and tell and discussion. I have lots more pictures, but here are just a few to give you a flavor of the creativity we all experienced.