"Forest Dream"
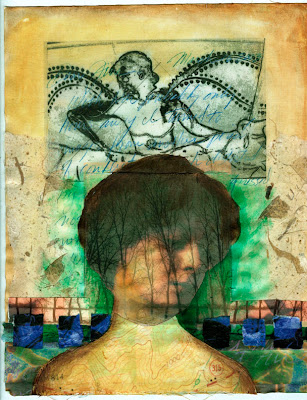
"Pedestal"
 I want to show you in a little more detail how I got some of these layered images in Photoshop.
First, I scanned some images of these Greek vase paintings, and made them the same width, 5". (In this post they don't look the same width, but trust me).


In Image 1, I went to Image > Adjustments > Hue / Saturation and played with the hue slider to change the color:
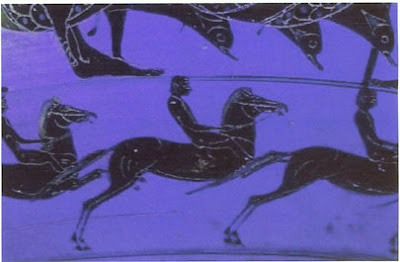
Then I went to Levels (Image > Adjustments > Levels) and used the left and right sliders to bring up the highlights and darken the darks:
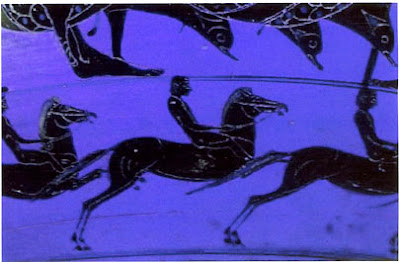
On Image 2, I simply used Levels to brighten the lights and darken the darks:
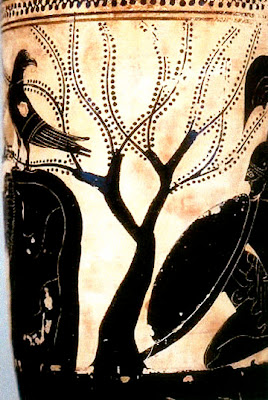
Now, here comes the fun part. Using the Move tool, I moved Image 1 onto Image 2:

This creates a layer over a background. In the layers panel, I double click on the layer (Image 1) and that opens the Layer Styles box. I play with the Opacity slider to make the image more transparent so you can see Image 2 underneath Image 1.

I then cropped the image using the crop tool:
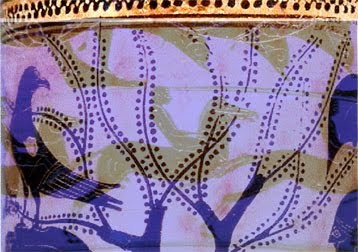 Then I flattened the image, Layer > Flatten.
To selectively change the color I went to Image > Adjustments > Replace Color, which opens a dialog box like this:
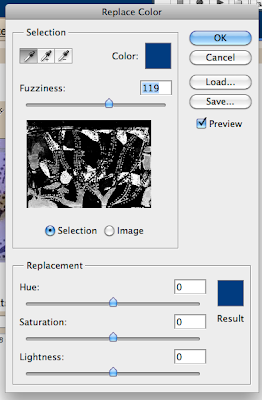
Click on the color in the image that you want to replace (I clicked the gray of the horses), then play with the hue, saturation, and lightness sliders to change that color. The Fuzziness slider determines how broadly you want to define your selected color, and that color will show up as white in box that shows the image. Here is my result:

Then, just for fun, I played with the Hue / Saturation tool again. Image > Adjustments > Hue/Saturation. Here is another altered version of the image:
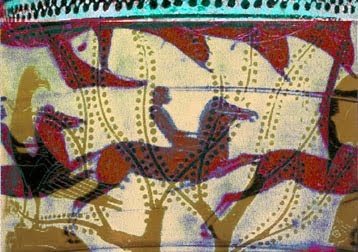 I know this tutorial requires some basic knowledge of Photoshop, so I hope there are enough of you out there who can take advantage of it. Do get the free e-booklet from Cloth Paper Scissors! There are three other tutorials with fabulous art.

Thanks for sharing your technique. The first image from you book is a favorite of mine! xox Corrine
ReplyDeleteOh This is good I will try this tech. And thank you for the link to the e-zine I may well down load this as well thanks
ReplyDeleteLove Dawn xx
My heart be still.. wow.. so cool, Jane. I need an intense class in digital art. I have not entered that realm... yet.
ReplyDeleteVery Cool Jane!!! Thanks so much for sharing. Great job of explaining all.
ReplyDeleteI found you through a blog through another blog through another blog! I love this kind of artwork and thought it was time to learn something! :-) I'm your newest follower.
ReplyDeleteWonderful tips! Thanks for sharing Jane!!!
ReplyDeleteAnd if anyone is looking for tutorials on Photoshop Elements, check Kim Klassen's site: http://kimklassen.squarespace.com/elements-skinny-mini-ecourse
She offers a great FREE class called Skinny Mini E-Course that gives you all the basics on how to do many of the things Jane is talking about (levels, layers, opacity, hue & saturation, etc.)
okay. this sounds great and the results are fabulous. I'll try it!!
ReplyDelete