Showing posts with label pen. Show all posts

Friday, April 15, 2011

Playing with Value

In today's Drawing Practice exercise we are going to see how we can get a range of values (light to dark) in a few different materials. Leave color out of it for now, and just see if you can create very light areas, very dark ones, and a range in between.

For now we are just experimenting with different materials; next week (yes, I know I said I would do six Drawing Practice posts, but I'm doing one more) we will use these values to make drawings.

Choose a drawing implement, such as pencil, and start scribbling. Make as many kinds of marks as you can by varying the speed, the pressure, and so forth. Then try to create a range of values from dark to light.

In this one I used pencil, cross-hatching to varying degrees creates the value range.


Same thing in black fine tip felt pen. Here I tried to create different qualities of value by making some areas with more or less straight lines intersecting, and others with loopy scribbles.

I found the black crayon (crayola) the least interesting of my materials. I was surprised, though, that I could actually get a very dark black.


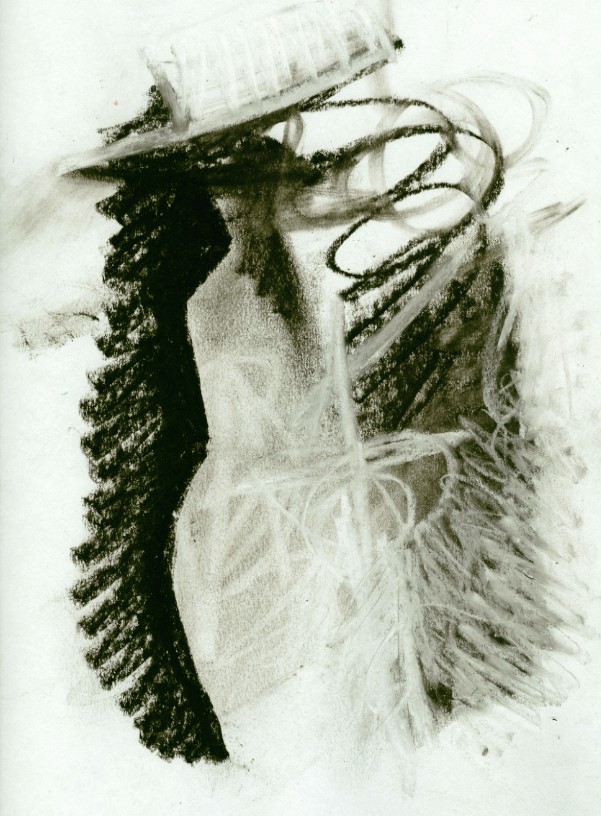
In this final one I used charcoal as well as white pastel. I used a kneaded eraser to smudge and make lines through the charcoal areas. Charcoal and pastel are so dusty, I really don't enjoy working with them. But they do offer such cool possibilities.
Hope you enjoy playing with values this week. We'll see what we can do with them next week. Thanks for visiting!

Tuesday, March 29, 2011

A couple brush and pen drawings

I was playing with the watercolor and pen drawing practice from last Friday, so I thought I'd share a couple of the resulting images.

This one is my dog, Zeke. I wanted to add a little more detail, but he moved.


This one is my Bad Hair Day self-portrait. I really don't look that somber most of the time.


April is my month to post the theme for the Sketchbook Challenge, so don't forget to look for it on Friday. I will copy the post on this blog next week, as Friday this week is another drawing practice tutorial.

I've just put my FIRST ONLINE WORKSHOP up on my web site, Unlocking the Secrets of Color. It is open for registration now, and begins May 4. It consists of six sessions, one per week, and I expect we'll have a blast! The next workshops to appear online will be Scribble Collage and a Drawing Practice workshop (similar to what you've seen in my Friday blog series, but much more fleshed out). Please e-mail me or post comments if you have suggestions or requests for online workshops.

Friday, March 25, 2011

Contours with Brush and Pen

Welcome to the third of my Friday Drawing Tutorials. You've probably all heard of contour drawing: you look at the object as you draw it, only glancing down to your paper occasionally, and draw its outlines. Pretty straightforward. You can do just the very outer edge of the object, or some of the interior lines as well. The key to contour drawing is to SLOW DOWN, take your time, let your hand and your eye coordinate their movements. Use a pen. "Mistakes" are part of the experience.

Here is an early attempt at a contour drawing of my chair:


After this drawing I did another, adding some of the interior lines:


You'll be amazed at how quickly your powers of observation increase when to take a few minutes once in a while to do a contour drawing. Here is another chair I did adding a bit of cross-hatch shading:


To make it a little more juicy, try doing a contour drawing with a big, wet watercolor brush. This makes you see the contours more generally, less in detail. After the watercolor dries, try a contour drawing of the same object in pen on top of the watercolor. Here is my spray bottle:

And a jar of brushes:

In the above two examples I tried to keep the pen drawing and the watercolor drawing together, so I fudged a little on the spray bottle nozzle while drawing in pen. In this self-portrait, I did the contour in watercolor, then the drawing in pen over it without trying to coordinate it.

Try both. See where it takes you!

Friday, March 11, 2011

Friday Drawing Series

Drawing Practice


Welcome to
the first installment of a series on DRAWING PRACTICES, which I will be posting every Friday for six Fridays. It’s not a step-by-step how-to-draw course, as much as a series of suggestions for keeping your drawing practice alive.

Blind Scribble


The Blind Scribble is a good place to begin if you are either new to drawing or haven’t done it for a while. Maybe you paint, collage, sew or make assemblage with abandon, but drawing, for some reason, intimidates you. Even if you draw on a regular basis, this first practice brings you back to basics.

You need:
Paper
A pen
Other drawing materials (optional)

Put the piece of paper in front of you on your work surface. Place the pen somewhere on the paper. Close your eyes. Draw. Just move the pen around, slowly exploring the paper. Focus on the sensation of moving the pen over the paper. Now try different kinds of lines, still with your eyes closed: try wavy lines, saw tooth lines, broken lines, smooth lines, jagged lines…. Move faster, move more slowly. When you’ve had enough, stop and open your eyes. Get another sheet of paper and repeat the process.

Ways to vary this exercise:

Draw to music: draw to slow, melodic music; draw to fast rhythmic music; draw to music you hate; draw to atmospheric, non-rhythmic music. Keep your eyes closed and give your whole being over to the sound and the feeling of drawing.


Switch drawing materials: Change to a brush-tip marker, a crayon, a colored pencil, a thick graphite stick, a piece of charcoal… This one is charcoal, then I brushed water over the drawing.


Make one blind scribble drawing; switch material and make another drawing over the first one.

I used water-soluble pencil for the second blind drawing over the marker original. Then I brushed water over the pencil.


Make a blind scribble drawing, then, with your eyes open, draw into it or over it with a different material.
In this one I did a blind scribble in white crayon over the first blind scribble, then painted into it with watercolor.
For more drawing exercises, see the Tutorials page on the Sketchbook Challenge blog. I hope you enjoy these exercises; thanks for visiting!